Van Build Journey: The Ups and Downs of Creating My Dream Home on Wheels
Affiliate Disclosure: This post may contain affiliate links, which means I may receive a commission if you purchase through the links provided. This is how I make a living 🙂 I only recommend products that I have personally used and believe will add value to my readers. Thanks so much for supporting my blog. Learn more on my Privacy Policy page.
Welcome to my van build adventure! This project challenged me more than I could have ever imagined, all in the hopes that my camper van would take me to the places I’ve dreamed of visiting since I was a little girl. Places like Yosemite National Park, Glacier, Yellowstone, and the Badlands. This journey pushed me to the edge and taught me so many lessons along the way. Let’s dive into where it all started.
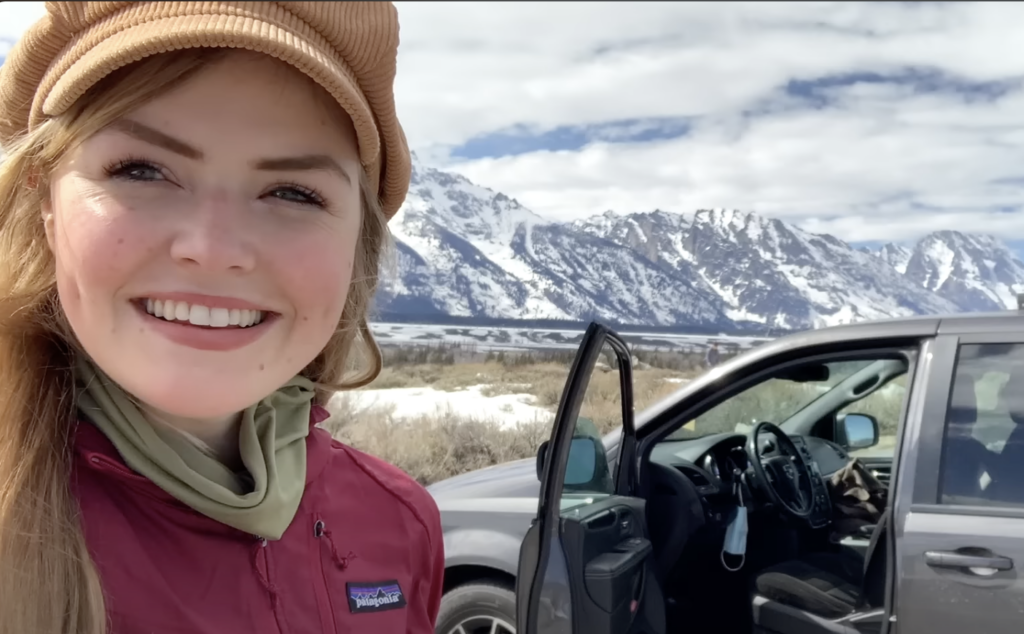
Hey everyone, I’m Lydia Keen, and this is my full Dodge Caravan conversion post. Now, this text is going to be super similar to the verbage in the Youtube Video linked below- so you can blog it, or Youtube, or both! I made sure to add video links with the right time stamps below each blog post. I poured my heart and soul into this project, and I’m so excited to share it with you on any platform I can:) Let’s get into it.
I’ve been traveling the country and car camping part-time since 2015. I make a living as a traveling artist and model. I started my camping journey with my Dodge Nitro car, which I traveled all over the country in. It had a no-build setup with lots of blankets and pillows, turning it into my little hippie haven. I used that car for years until, at the end of 2019, it was time for Hank the Tank to retire..
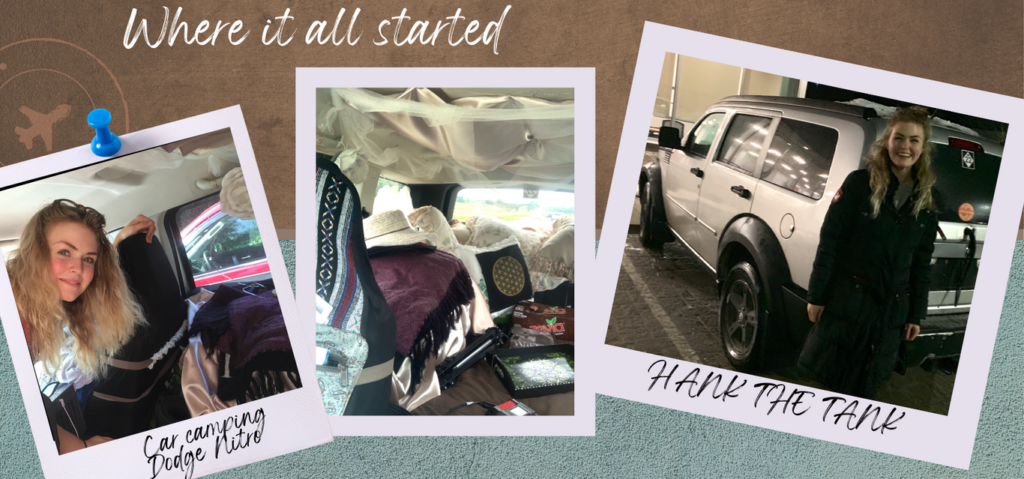
Watch on Youtube: Car Camping Beginnings
Getting My Dodge Caravan – No Build Fail
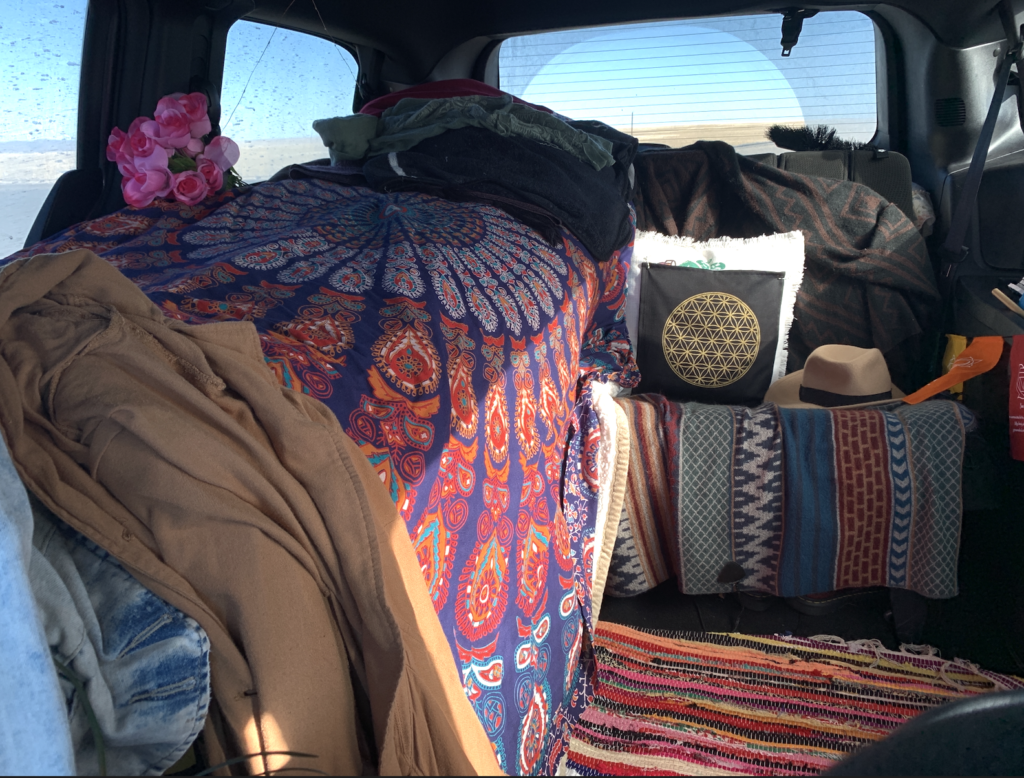
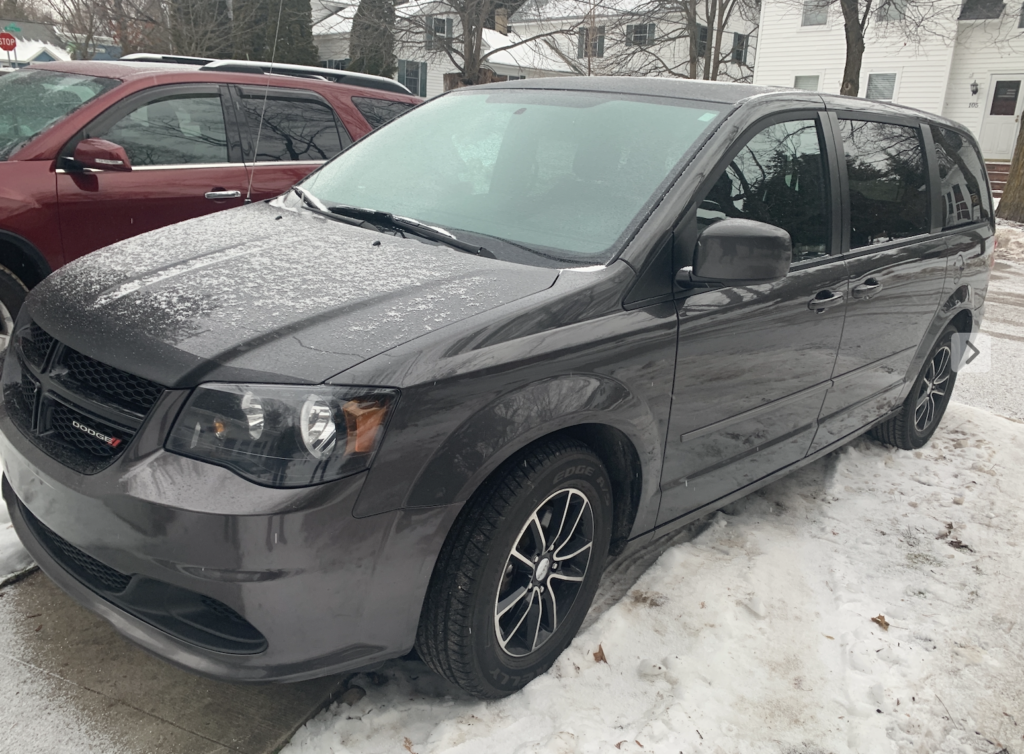
I chose a Dodge Caravan because I wanted something simple with stow-and-go seats for storage, a CD player, and fewer electrical components to go wrong. Initially, I aimed for a no-build setup like my previous car. I bought shelves from Home Depot, a little air mattress pad, storage bins, blankets, and even made cool Reflectix liners for the windows.
After setting everything up, I embarked on a massive road trip from Michigan to Colorado, New Mexico, and beyond. This “trial tour” quickly taught me what needed improvement. The shelves weren’t level, the foam pad deflated or kicked me off at night, and I had no high-grade sleeping bag, just cute frilly blankets. Colorado’s 10° weather proved impractical for my setup, leading me to hotels and hostels for relief. This trip, while challenging, was invaluable in helping me understand my needs for a more permanent build.
Watch on Youtube: New Van & No-Build Fail
Starting the Van Build – Up-cycled and on a Budget!
Back home, after a month and a half, I took time to be grateful for my family, a real bed, and a shower. I knew I had a lot of work ahead to turn my van into a home on wheels. I was nervous but excited to learn more about building and using power tools. My dad’s help was invaluable, and with a tight budget, we upcycled materials from other projects and thrift stores to build the van of my dreams!
Removing the Stow-and-Go Seats
The first step was removing the stow-and-go seats to create more storage underneath. I was super careful, having watched many videos warning about the spring-loaded mechanism potentially causing injury. Fortunately, everything went smoothly, and I survived with all my fingers intact.
Watch on Youtube: Removing Stow-and-Go Seats with Tips
Building a Bed for the Van
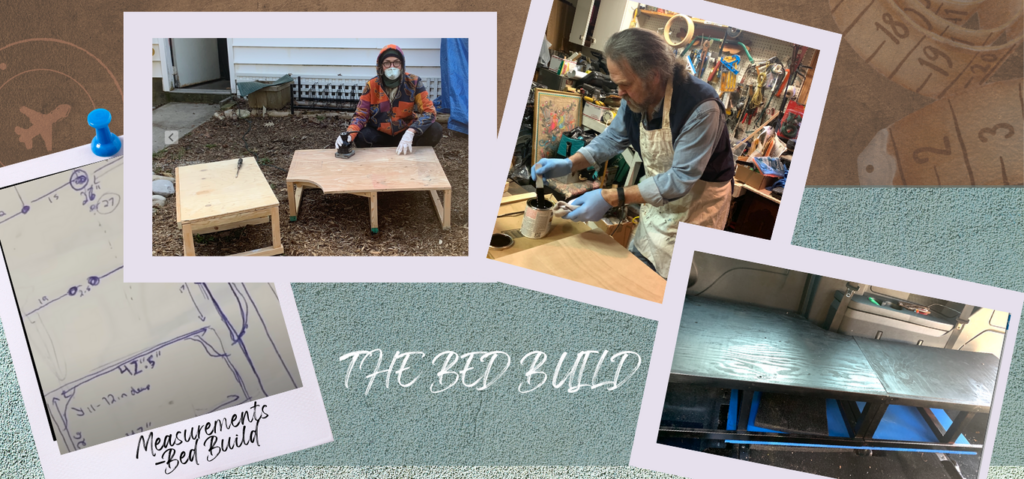
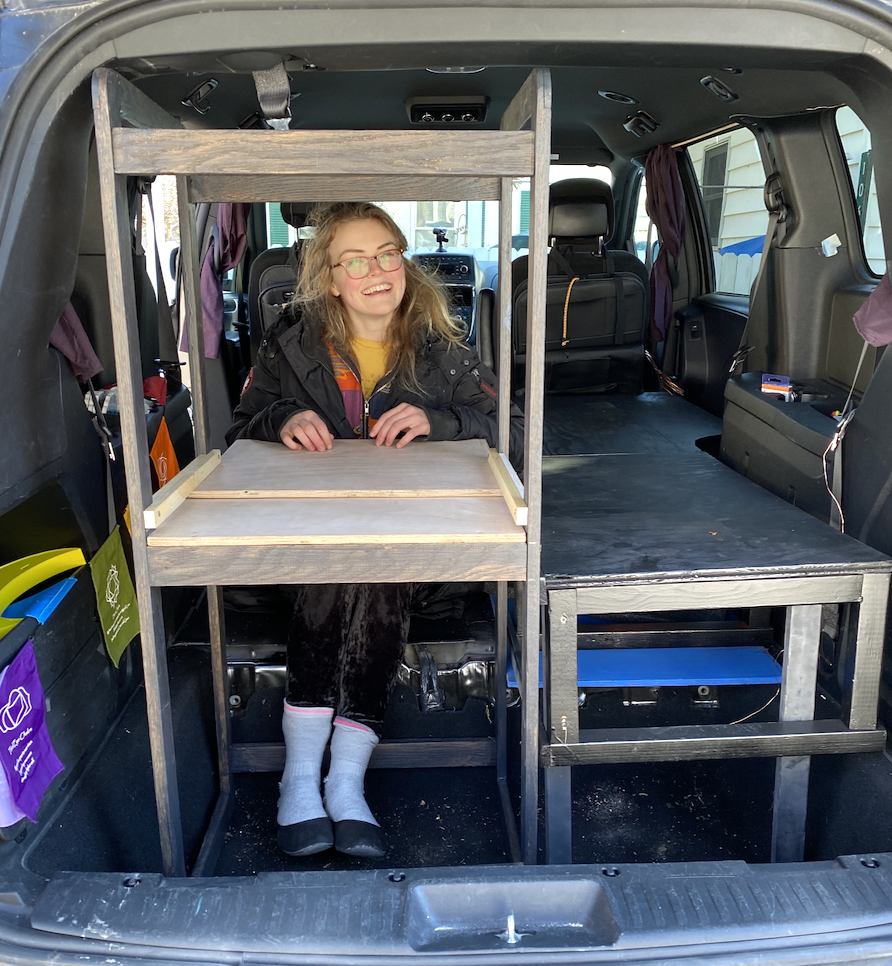
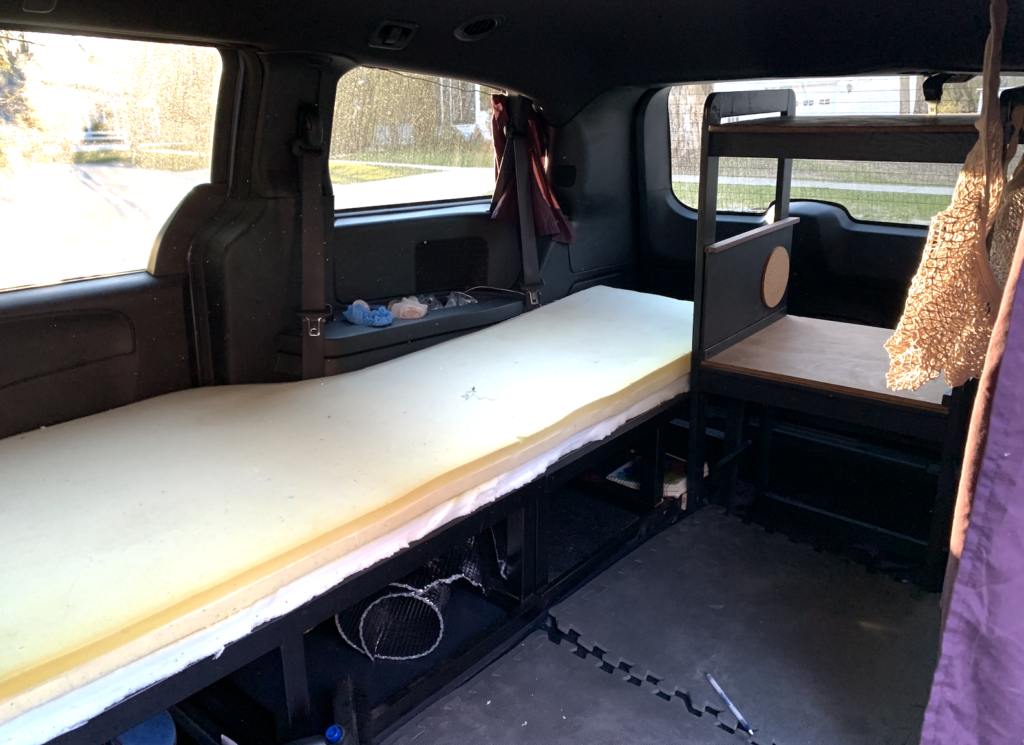
Next, we built the bed. Using leftover lumber, we created a structure that fit perfectly, with legs dropping into the stow-and-go areas, creating additional storage pockets. After priming and painting it black, the bed was just right.
Watch on Youtube: Full Bed Build
Up-cycled Office Space and Side Table
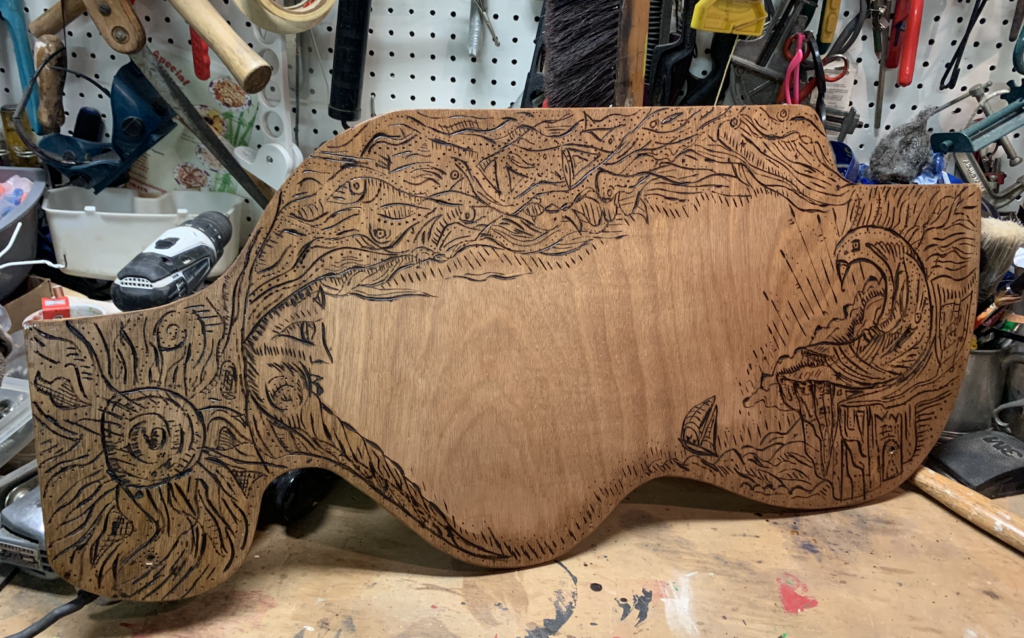
An old shelf became my office space, fitting perfectly next to the bed and securing it in place. Though initially intended as a work table or cooking space, it ended up being more of a shelf for extra storage. Feeling confident with power tools, I built a removable side table, freehand wood-burned it, and finished it with a makeshift soldering iron. I hung up the table with some leather string- if you watch the Youtube video, you’ll get a whole comedy sketch of my string dyeing failure.
Watch on Youtube: Office & Side Table
When it Rains, it Pours
During this time, everything seemed to crash down. My beloved cat George passed away, I went through a breakup, my dad’s health declined rapidly, and the fear of COVID-19 loomed large. Despite these challenges, the van project kept me sane, providing a creative outlet amidst the chaos. For more details on what happened check out the video link below.
Watch on Youtube: When it Rains it Pours
DIY Minivan Mattress and Hope
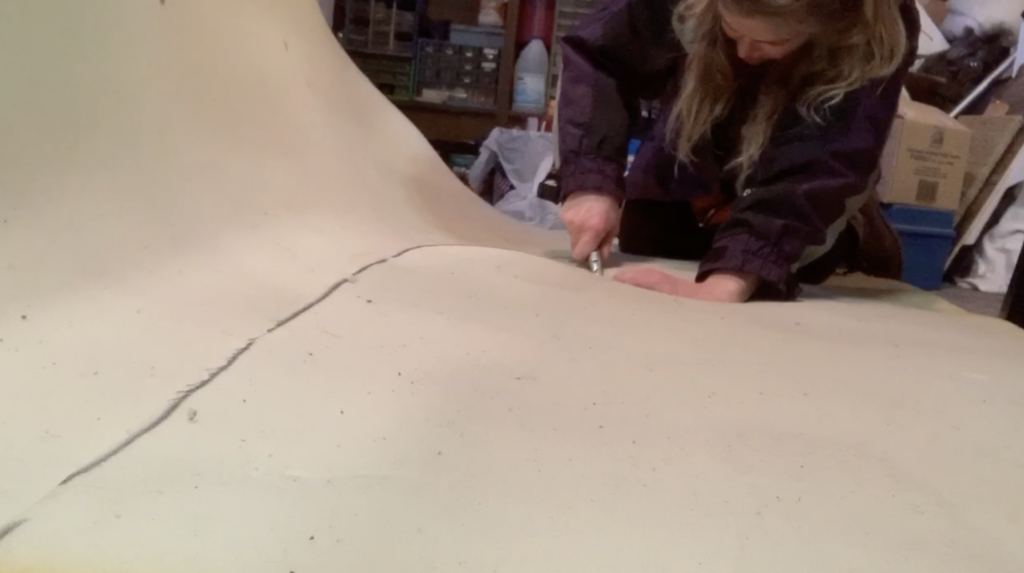
Picking up my dad from the hospital was a pivotal moment. Seeing the smile on his face was a relief. As we drove home, he kept talking about how excited he was to work on the minivan again, despite needing some recovery time. While he rested, I worked on making curtains for the van, feeling more motivated than ever after overcoming so many obstacles and finally getting answers to my dad’s health problems.
Watch on Youtube: DIY Minivan Mattress
Making Curtains with an Ancient Kenmore Sewing Machine
I started with an ancient sewing machine to make curtains for the van. Unable to find any tutorials, my mom, a master seamstress and artist, stepped in via FaceTime to guide me. From winding the bobbin to threading the machine and selecting the stitch, it was a process of trial and error. After many failed attempts, I finally got it to work. I used dowels, wire, and rubber bendy ties to hang the curtains, fitting them perfectly to the van’s windows.

Watch on Youtube: Making Curtains- Ancient Kenmore Sewing Machine
Building the Center Console
The next project was raising the center console for additional storage space. With my dad back in action, we built a box to elevate it. Securing it in place turned out to be more complicated than expected, but we finally managed to create a handy storage space for items I need while driving.

Watch on Youtube: Making Center Console
Installing Solar Panels Without Drilling – 200 Watt Renogy System
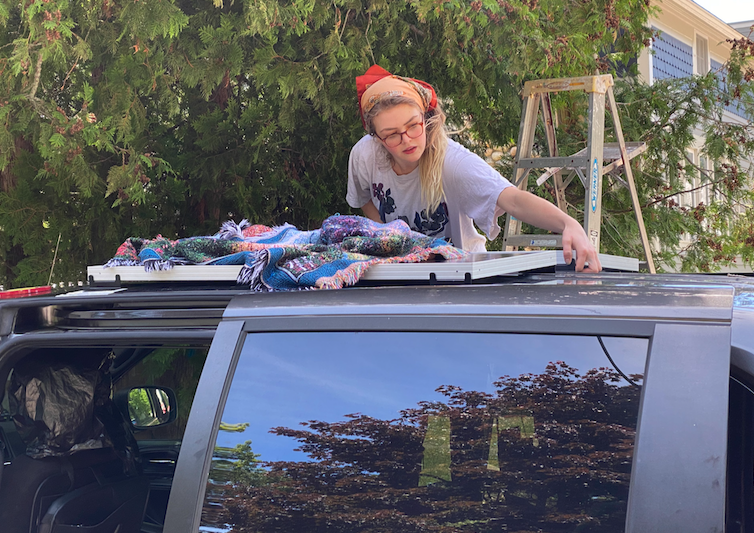
Power is essential for my travels, especially since I build websites on the road. After much research, I opted for a 200-watt system with hard panels for durability. The installation process was nerve-wracking as I’m no electrician, but with careful planning and guidance from YouTube, I managed to set up the system without drilling into the roof. Shoutout to HoboTech for the wonderful Advice- My solar panels are holding up 4 years strong! Click here to watch his video on No-Drill Mounting. ( List of Supplies Below )
The setup process included connecting the battery to the charge controller, wiring the panels, and testing everything meticulously to ensure it worked correctly.
Watch on Youtube: For More Details on the Solar Panel Installation
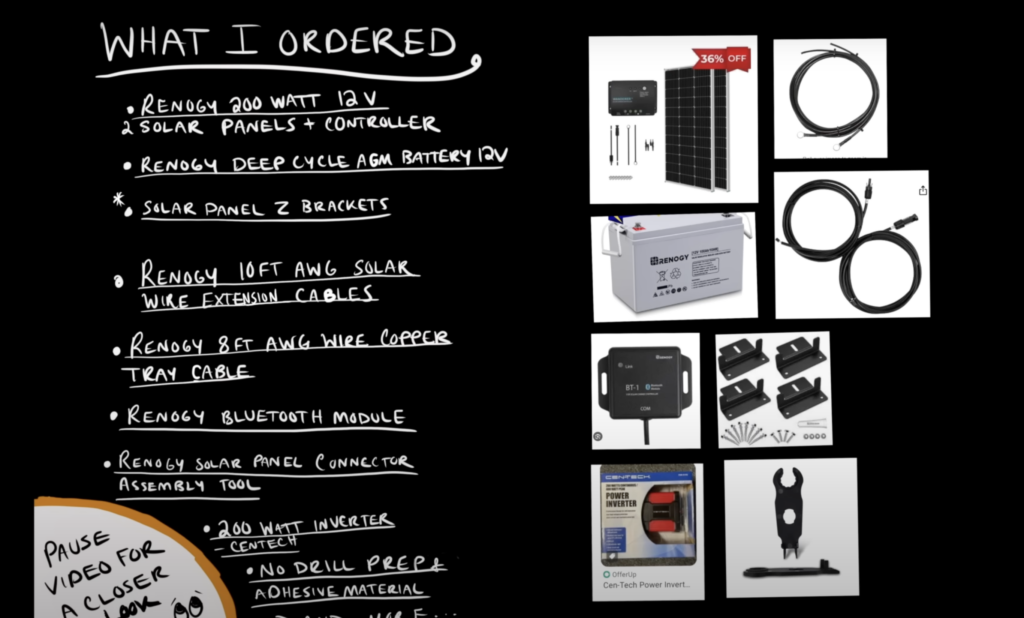

Supplies I Used for the No Drill System:
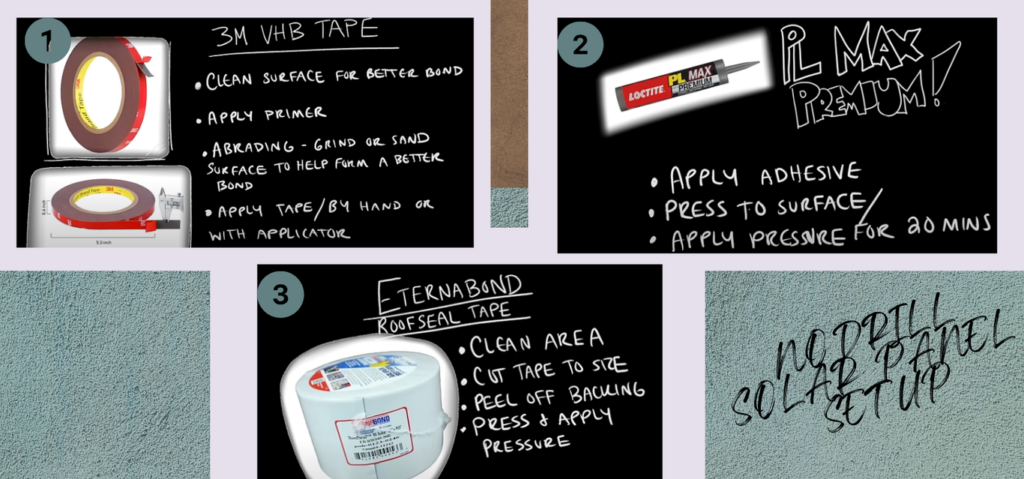
- Rubbing Alcohol
- Masking tape to frame the panels
- 3M Tape Primer 94
- Sand Paper
- 3M VHB Tape
- PL Max Premium Loctite
- Externabond Roof Tape
Watch on Youtube: Solar Panel Install No Drill! 200 Watt Renogy
Flooring, Screens, Toilet and Other Essentials
For the flooring, I initially used foam pads and later upgraded to fake wood flooring, which I cut to fit the van perfectly. I also made screens using mesh and Gorilla tape, although I’m still perfecting this setup. For the toilet, I use a Turbo Toilet, which is compact and sturdy. I even made an extra swing seat for more seating options.
Watch on Youtube: Flooring, Screens, Toilet
My List of Van Life Essentials
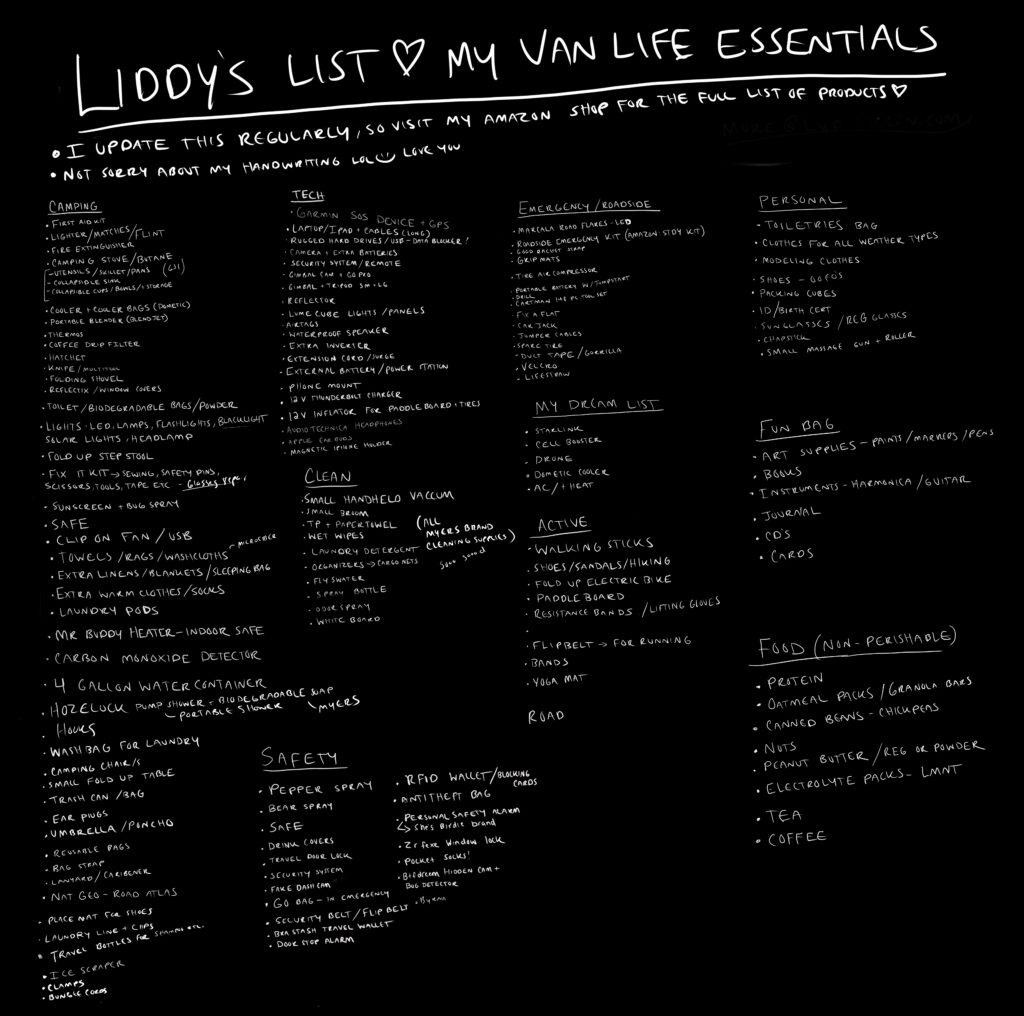
Watch on Youtube: My Essentials
Packing for the Journey
Packing the minivan with essential camping supplies was the final step before hitting the road. I felt a mix of nervousness and excitement as I embarked on my adventure. Over the years, I traveled extensively, visiting dream destinations and living out of my minivan, which I affectionately named Zava.
Watch on Youtube: Hitting the Road
Lessons Learned
Building and living in the minivan taught me invaluable lessons:
- Create Your Own World: People are often willing to help; you just need to ask.
- Savor the Process: The building process is intertwined with memories and that is special.
- Less is More: Happiness often comes with simplicity.
- Embrace Learning: Continuously learning and growing is essential, even when it’s scary.
What’s Next?
I plan to continue traveling, potentially take my family on road trips, and make minor adjustments to Zava, like adding a mattress layer and improving the cooling system. While I dream of getting a bigger van for more space, I’m enjoying taking things one step at a time and sharing my journey with you all.
Thank you so much for reading this post, and for watching and supporting my Youtube channel. If you found this entertaining or helpful, please spread the word. This is Lydia Keen, over and out.

